The ad factoryGuide
Edit before-and-after footage with honest continuity
Short answer
Edit before-and-after footage as a comparison whose conditions the viewer can understand. Match camera position, framing, lighting and relevant product state where possible, and disclose meaningful differences. Preserve the original takes and an evidence note. If the sequence is staged or animated, describe it as an illustration instead of presenting it as an observed result.
Define exactly what is being compared
Before-and-after editing needs a narrower question than “show the improvement.” Name the visible property that changes and the conditions that affect it. A cleaner desk, a different camera angle and a brighter exposure are three changes, even if the intended story concerns only the desk. Preserve the conditions needed to judge the intended difference, and describe only what the visible comparison supports.
This guide proposes a continuity and evidence method. It does not report a new before-and-after test. ai ugc ads workflow covers the broader workflow. The comparison should let a viewer understand what happened without relying on an edit that hides the conditions responsible for the visible difference.
In a hypothetical drawer organizer edit, the intended comparison concerns arrangement. An overhead before view and an equivalent after view let the viewer inspect that change. Cropping closer and brightening only the after shot would also alter how the contents appear. Keep those conditions comparable, or state their difference explicitly. The sequence should support the narrow visible claim rather than rely on a more flattering presentation of the second frame.
Use the same camera position, lens setting, framing and light where practical. Record differences that cannot be controlled. For a hypothetical workspace demonstration, changing the camera height can conceal clutter that remains present, while a tighter crop can make the finished state look simpler than it is.
Keep the start and end states readable. A quick flash of the “before” followed by a long, beautifully lit “after” creates an unequal comparison. The shots need not have identical duration in every creative treatment, but their presentation should allow the viewer to inspect the property being compared. Do not use an edit rhythm to substitute for visible evidence.
| Check | Suggested action |
|---|---|
| Conditions | Record camera, light and product state |
| Sources | Keep original files and intervals |
| Meaning | Check labels against actual evidence |
| Handoff | Include an evidence note |
Source: Turntake editorial checklist (proposed), October 2026.
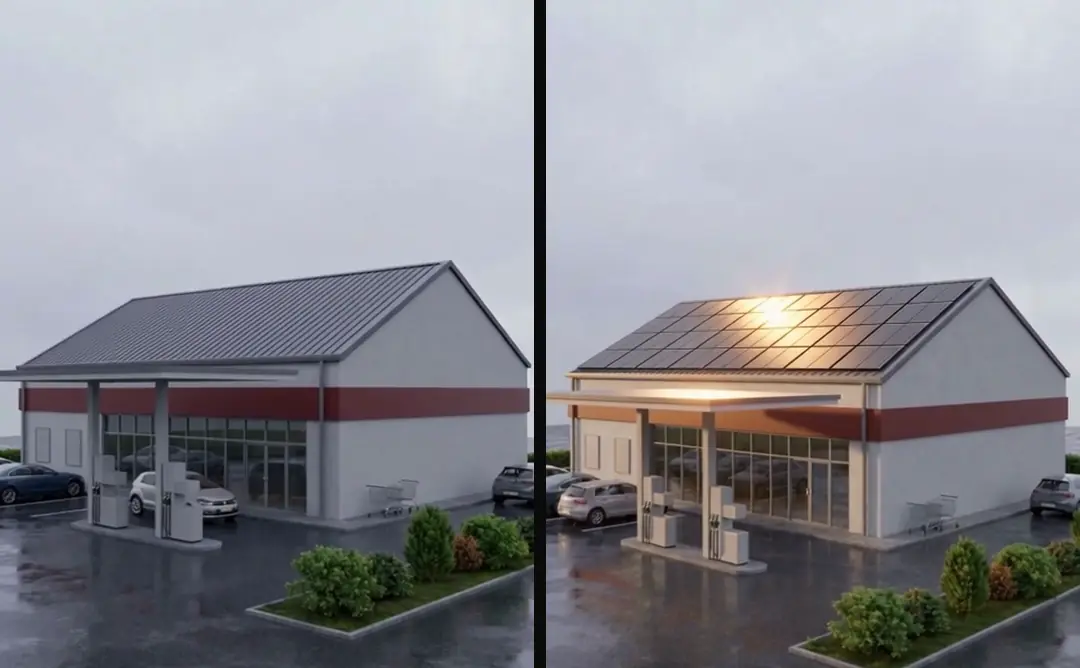
Preserve the original action and source interval
Keep the unmodified source files, recording dates and selected intervals. If the comparison shows a process, retain footage connecting the states. A cut from a closed object to an open object may illustrate a result without demonstrating how the object opened.
In our production in October 2026, real product behavior and readable screens are treated as evidence tasks. Use that distinction here: an animated transformation can explain an idea but does not document a real outcome. The source note should identify whether the sequence is continuous footage, separate recordings or a staged illustration. That classification belongs with the asset, not only in someone’s memory of the shoot.
- 01Name compared propertyIdentify relevant conditions
- 02Match source viewsPreserve original recordings
- 03Control labels and voiceAvoid unsupported causation
- 04Review complete comparisonAttach evidence note
Keep labels narrower than the evidence
Write labels that describe the visible states without adding unsupported causation. “Before arrangement” and “after arrangement” can describe a demonstration. A statement that attributes a broad result to one product requires separate support and may depend on conditions the footage does not show.
Place necessary qualifications beside the comparison. A later end card should not be asked to repair a stronger implication created by an earlier label. Spoken scripts vs captions: keep two text tracks covers spoken wording and caption text. Check both, because a cautious narrator can still be contradicted by a bold on-screen phrase. The final meaning comes from the whole combination of pictures, labels and voice.
Use transitions to reveal, not conceal
A split screen, wipe or matched cut can make a comparison easier to inspect. Choose the treatment according to the property being shown. A stable side-by-side view may suit a layout change; a continuous action may suit a mechanism.
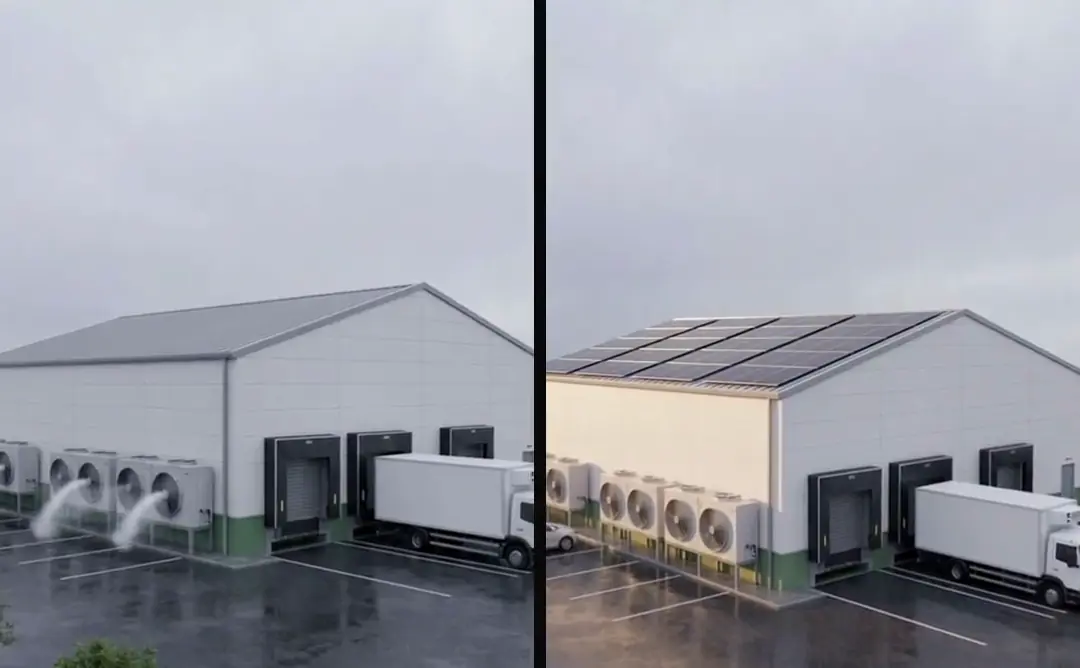
Avoid transition effects that hide the hand, control or moment where the change occurs. Do not speed one state selectively to imply a process took less time than it did. If time is compressed, make the treatment clear. For a proposed review, pause immediately before and after the transition and ask whether both states remain interpretable. Then play the sequence normally to inspect the impression created by its timing.
- Comparison typeContinuous real actionEvidence boundaryObserved process
- Comparison typeSeparate matched recordingsEvidence boundaryVisible state comparison
- Comparison typeStaged demonstrationEvidence boundaryStated demonstration conditions
- Comparison typeAnimationEvidence boundaryIllustrative explanation
Check the sound and caption version
Keep the voice, captions and labels tied to the same comparison revision. A late wording correction can leave an older subtitle file attached to the new video. SRT vs WebVTT for video ad captions covers caption file formats, while Fix caption drift from the first word to the last covers drift when cues follow the wrong timing reference.
Inspect the whole comparison without sound, then with sound. The silent pass reveals whether labels imply more than the voice states. The sound pass reveals whether a sentence bridges two different conditions as if they were one continuous action. Neither check proves the underlying product statement; that still needs its source. These passes simply expose contradictions in how the edit presents the evidence.
Deliver an evidence note with the final cut
The note should identify the compared property, recording conditions, source IDs, relevant differences and illustrative elements. Keep the wording approved for labels and narration beside it. A later editor can then shorten the cut without accidentally dropping the qualification that makes the comparison understandable.
Turntake’s production approach describes Turntake’s production approach. The standard here is an honest visual comparison, with sufficient context to interpret what changed.
For a hypothetical review, imagine that the two workspace shots use different lighting. Ask whether the apparent improvement could come from illumination rather than the arrangement. If so, reshoot under matched light or narrow the label to the visible arrangement and disclose the difference. Do not solve the issue by making both images look similar through selective grading while leaving the underlying comparison unexplained. The editor’s job is to clarify the evidence, not manufacture comparability.
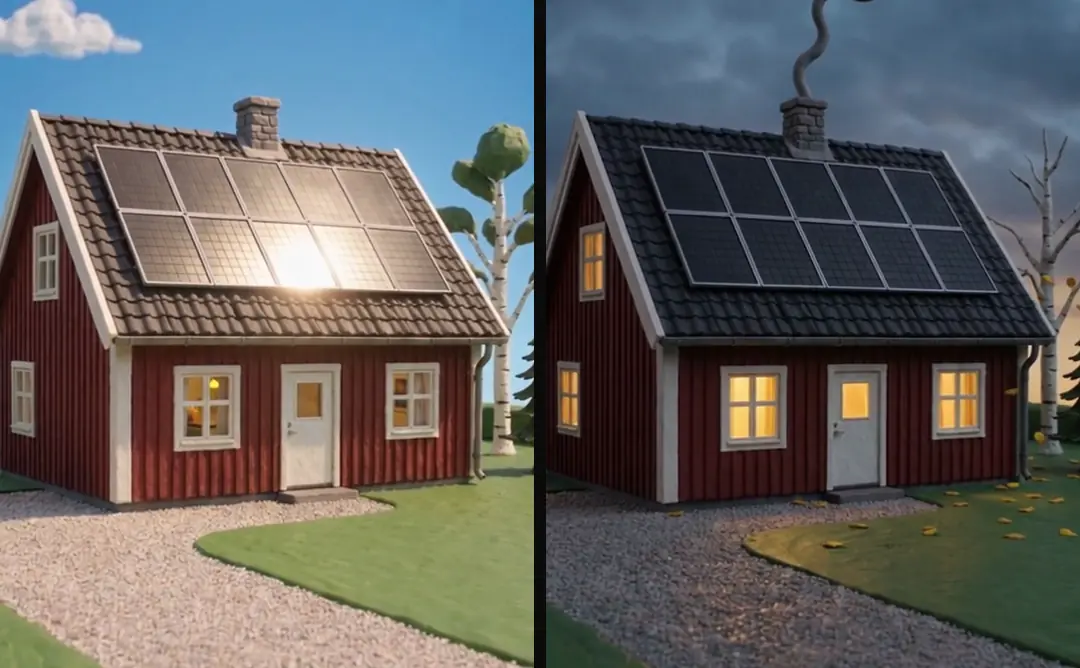
Keep a condition change visible
Suppose the “after” shot includes an additional accessory that the “before” shot did not use. Record that difference and decide whether the comparison still answers the intended question. If the accessory is responsible for the visible change, a label crediting the product alone would overstate the evidence. Reshoot, narrow the message or explain the setup. Do not hide the accessory through a crop while preserving the same broad claim.
Who wrote this We made the ads first, for SmartSolar in Denmark, Sweden and Ireland. Then we built Turntake. Where Turntake comes from
FAQ
How should I edit a fair before-and-after comparison?
Edit before-and-after footage as a comparison whose conditions the viewer can understand. Match camera position, framing, lighting and relevant product state where possible, and disclose meaningful differences. Preserve the original takes and an evidence note. If the sequence is staged or animated, describe it as an illustration instead of presenting it as an observed result.
How do I match the camera and relevant conditions?
Use the same camera position, lens setting, framing and light where practical. Record differences that cannot be controlled. For a hypothetical workspace demonstration, changing the camera height can conceal clutter that remains present, while a tighter crop can make the finished state look simpler than it is.
How do I preserve the original action and source interval?
Keep the unmodified source files, recording dates and selected intervals. If the comparison shows a process, retain footage connecting the states. A cut from a closed object to an open object may illustrate a result without demonstrating how the object opened.
How do I keep labels narrower than the evidence?
Write labels that describe the visible states without adding unsupported causation. “Before arrangement” and “after arrangement” can describe a demonstration. A statement that attributes a broad result to one product requires separate support and may depend on conditions the footage does not show.